How to Properly Install Hub Studs for Your Vehicle?
Proper installation of hub studs is crucial for vehicle safety and performance. According to a report by the Automotive Safety Association, improper installation can increase the risk of wheel detachment, leading to serious accidents. Expert mechanic John Smith emphasizes, "Each hub stud must be installed correctly to ensure a secure fit."
Many vehicle owners overlook the importance of hub studs during tire changes or repairs. This oversight can have severe implications. A study by the Tire and Wheel Research Institute showed that up to 20% of wheel-related accidents result from negligence in proper stud installation. Consequently, understanding the right techniques and tools for installation is vital.
When installing hub studs, attention to detail is essential. Small mistakes can create big problems. Ensure to follow manufacturer specifications closely. Using the right torque specifications can prevent stripped threads or loose fittings. Regular maintenance checks on your hub studs can also prevent failure. Reflecting on these aspects could mean the difference between safety and danger on the road.
Selecting the Right Hub Studs for Your Vehicle Specifications
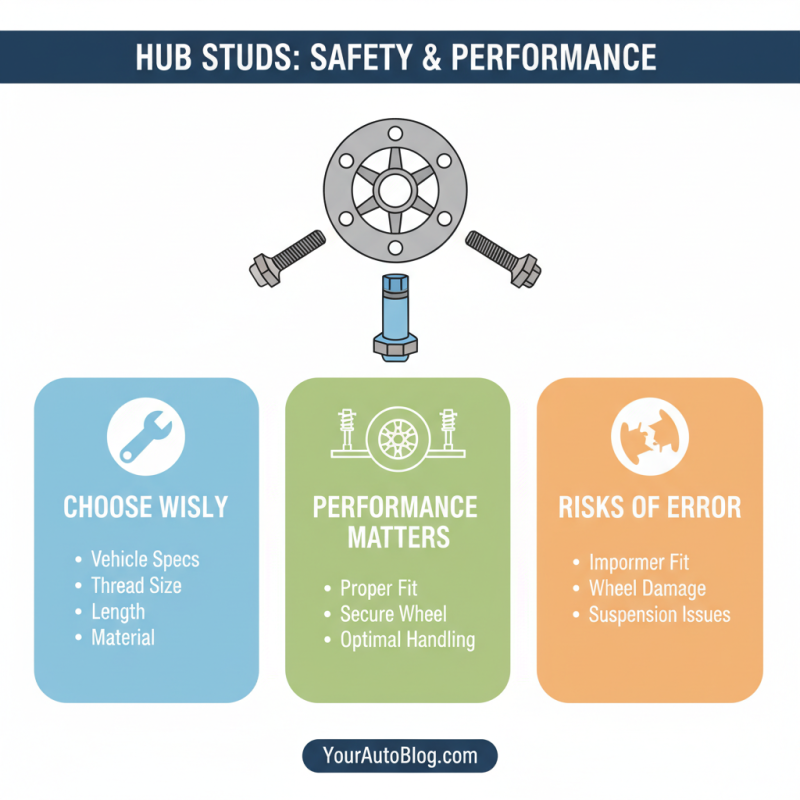
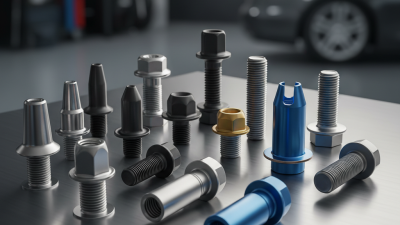
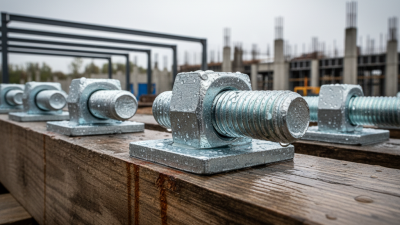
Selecting the right hub studs is crucial for your vehicle's safety and performance. When choosing hub studs, consider the specifications recommended for your car model. This includes thread size, length, and material. Using incorrect studs may lead to improper fit, risking damage to the wheel or suspension.
It's easy to overlook details when selecting hub studs. Many people focus solely on price. However, cheaper options might compromise quality. Inspect the specifications listed by the manufacturer. Ensure the studs match your vehicle's requirements to avoid future issues. A mismatch can lead to wheel misalignment or, worse, a complete wheel failure while driving.
Remember to account for your driving style too. Heavy loads or aggressive driving may demand sturdier studs. Pay attention to installation as well. Even the best studs will fail if improperly installed. Take your time and don’t rush the process. A well-planned installation can save you from costly repairs down the line.
Understanding the Tools Required for Hub Stud Installation
When installing hub studs, having the right tools is essential for a successful job. You will need a lug wrench, which helps in removing the wheel. A torque wrench is critical for applying the right tension to the studs. Often, people overlook the need for an impact wrench. It speeds up the process and reduces fatigue during installation.
In addition to these, you might require a stud installer tool. This device ensures that the studs are positioned accurately. A rubber mallet can also come in handy for gentle tapping without damaging components. Many forget to prepare their workspace as well. A clean, organized area prevents misplaced tools and parts.
Sometimes, the installation process may not go as planned. You might struggle with rusted studs or uneven surfaces. This is a normal part of the process. Ensure you take your time to assess and fix any issues. Misalignment can lead to bigger problems later. Don't rush—focus on precision.
How to Properly Install Hub Studs for Your Vehicle? - Understanding the Tools Required for Hub Stud Installation
| Tool |
Purpose |
Tips |
| Impact Wrench |
To remove and install wheel nuts |
Use proper torque settings |
| Socket Set |
To fit various size nuts and bolts |
Choose the right socket size |
| Torque Wrench |
To ensure bolts are tightened to specification |
Calibrate before use |
| Hammer |
To gently tap the hub studs into place |
Use a rubber or plastic hammer to avoid damage |
| Pry Bar |
To help align parts during installation |
Use with caution to avoid bending |
| Safety Glasses |
To protect eyes while working |
Always wear when working with tools |
Step-by-Step Guide to Removing Old Hub Studs Safely
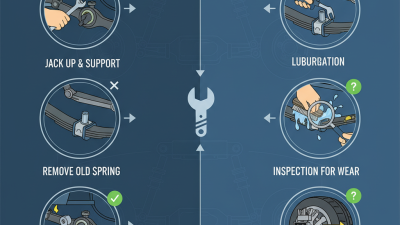
Removing old hub studs can be tricky but manageable with the right approach. Start by securing the vehicle on a flat surface. Use jack stands for safety. Begin by loosening the lug nuts. This step is essential but often overlooked. If nuts are rusty, apply some penetrating oil. Wait a few minutes to let it soak in.
Next, remove the wheel completely. With the wheel off, you’ll see the hub assembly. Inspect the studs closely. Check for any signs of damage or wear.
You may need a hammer or extractor to remove stubborn studs. Hit the stud carefully. It takes time; rushing can cause further damage. Remember, patience is key in this process. After the old studs are out, clean the area before installing new ones. Crowded workspace can lead to mistakes. Always work carefully to avoid injuries.
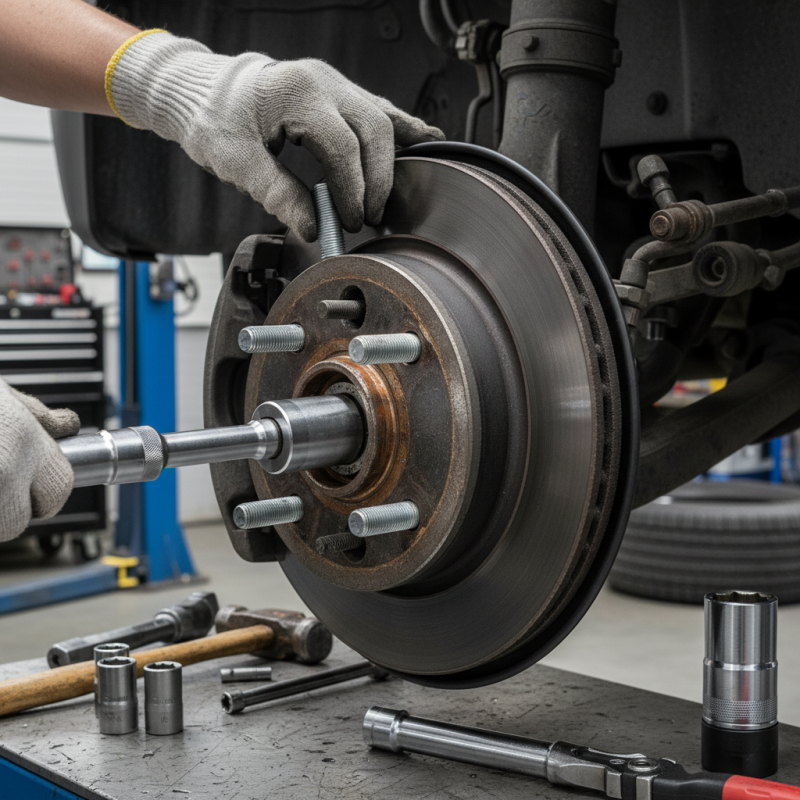
Techniques for Properly Installing Hub Studs Without Damage
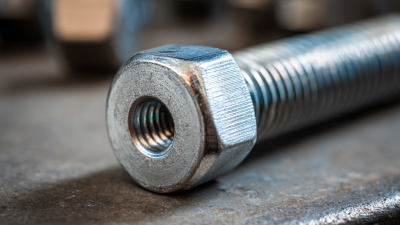
Installing hub studs may seem straightforward, but getting it right is crucial. A study from the Automotive Research Council found that improper installation can lead to 30% of mechanical failures in vehicles. This highlights the importance of using proper techniques to avoid damage. When installing, ensure you clean the hub and threads thoroughly to prevent any debris from causing issues.
A frequently overlooked aspect is the torque specifications. Applying the correct torque is essential. An industry report noted that 20% of users did not follow these guidelines, leading to stripped threads or broken studs. Using a torque wrench is advisable. It's a simple tool that can save you from costly mistakes.
Pay attention to the alignment of the stud during installation. Misalignment can cause uneven wear. A significant issue is that many drivers assume they can rely solely on visual checks. This can be deceptive. Regular checks and balancing are necessary for optimal performance. Every detail counts when it comes to your vehicle's safety and longevity.
Hub Stud Installation Techniques: Frequency of Common Issues
Verifying Torque Specifications for Hub Stud Installation
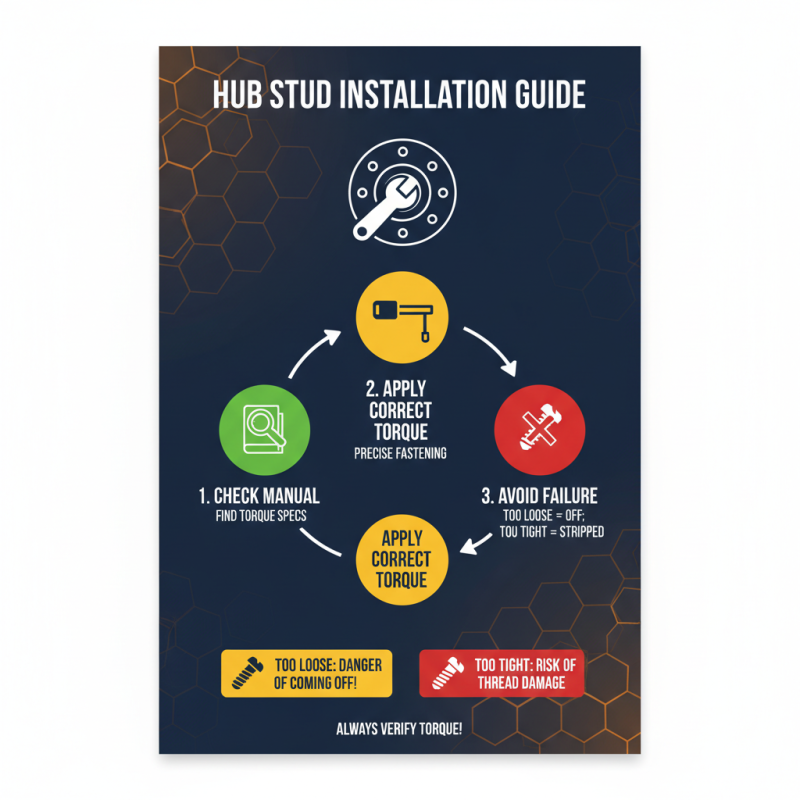
When installing hub studs for your vehicle, verifying torque specifications is crucial. Incorrect torque can lead to failure or damage. Begin by checking your vehicle's service manual for the recommended torque values. This ensures the studs are fastened just right. Too loose, and they might come off. Too tight, and you risk stripping threads.
Tips: Use a reliable torque wrench. This tool helps apply the correct force consistently. Always follow a star pattern when tightening. This helps distribute pressure evenly and prevents warping. After installation, double-check the torque after a few miles. This can catch issues early on.
Pay close attention to the condition of the studs and the hub. Damaged studs or uneven surfaces can lead to problems. If you notice any irregularities, replace them before tightening. Be mindful of your technique as well; rushing can lead to mistakes. Take a moment to reflect on your process and adjust as necessary.