2026 How to Replace Reaming King Pin Bushings Effectively?
Replacing Reaming King Pin Bushings is crucial for vehicle maintenance. This process might seem straightforward, yet it can be tricky. Proper alignment is vital. Poorly installed bushings can lead to uneven wear.
In this guide, we’ll focus on effective methods. Detailed steps will simplify your task. Each step is important. Ignoring small details can lead to mistakes. Equip yourself with the right tools. A reamer can be essential here.
Rushing through the task often leads to regrets. Take your time. Assess each step carefully. Remember, precision is key to longevity. If you find yourself stuck, don’t hesitate to seek advice. Being thorough now can save you from future headaches.
Understanding Reaming King Pin Bushings and Their Importance
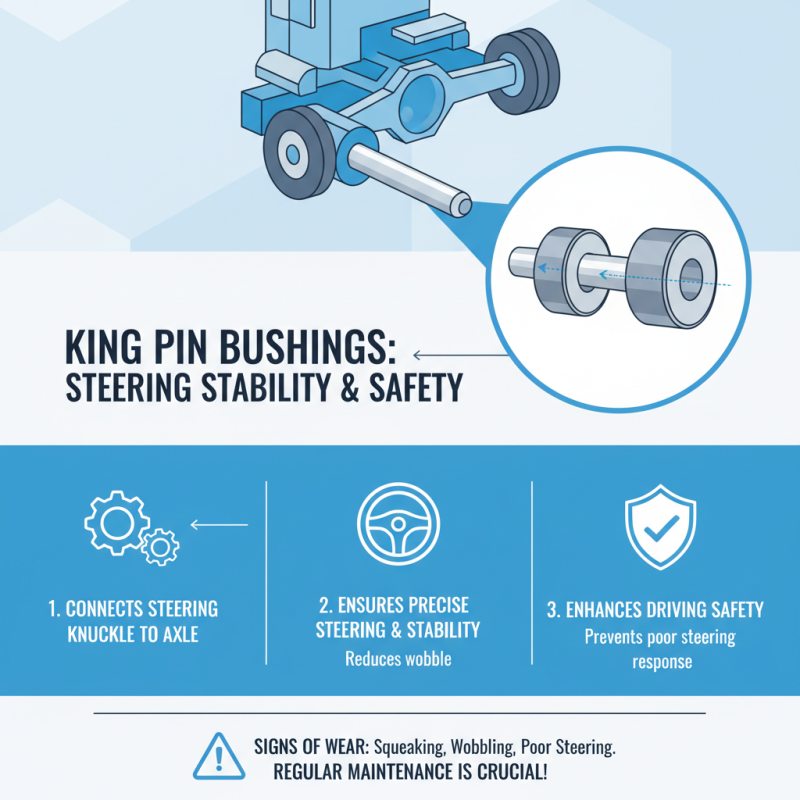
Reaming king pin bushings play a crucial role in vehicle steering. They connect the steering knuckle to the axle, ensuring stability during turns. A well-functioning bushing aids in precise steering and enhances safety. Over time, these bushings wear out, leading to wobbling and poor steering response. Drivers often notice squeaking or unusual play in the steering system.
Understanding their importance is key. Reaming ensures that the bushings fit snugly and function efficiently. A proper reaming process can prevent further damage and reduce repair costs. It’s essential to measure the bushing correctly. Inaccurate measurements can lead to looseness or even a complete failure. This can make driving hazardous.
When replacing bushings, attention to detail matters. Use the right tools and follow the correct procedures. If not done correctly, it may require repeated adjustments. This not only wastes time but also adds to expenses. Learning from mistakes during the replacement process is vital. Each step teaches us the significance of precision in vehicle maintenance.
Step-by-Step Guide to Removing Old King Pin Bushings
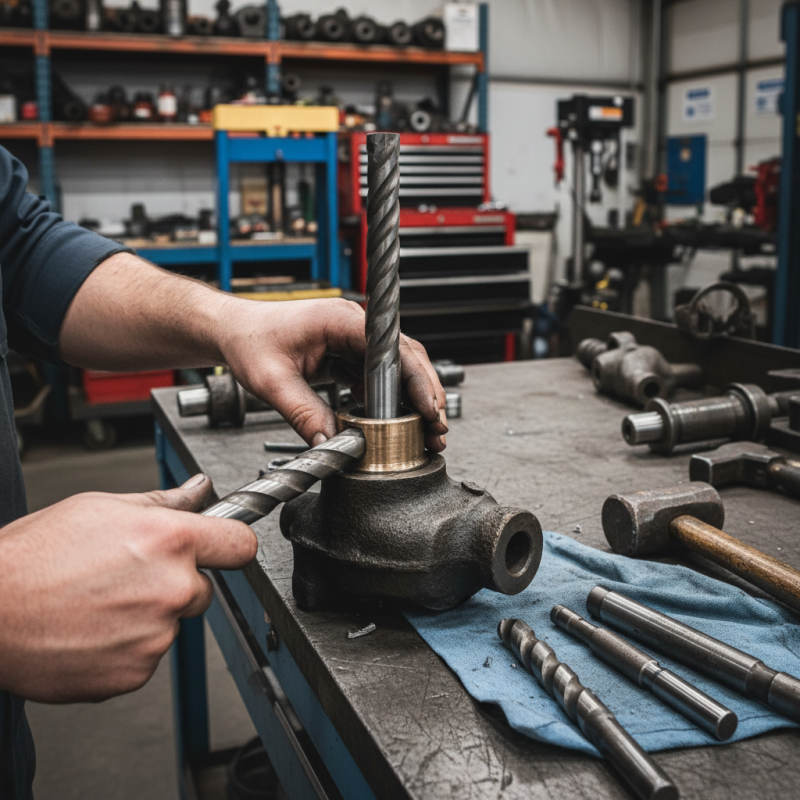
Removing old king pin bushings can be challenging, but it is crucial for proper vehicle handling. Start by gathering the necessary tools: a bushing driver, a hammer, and safety glasses. Ensure your workspace is well-lit and organized to minimize any distractions.
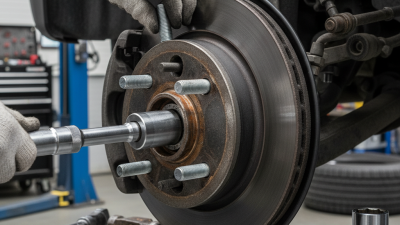
Begin by raising the vehicle securely. Remove the wheel and brake components to access the king pin assembly. Inspect the area for any damage or rust. This step is vital; neglecting it could lead to complications. Use the bushing driver to tap out the old bushings gently. Be cautious; too much force may damage surrounding parts.
As you tackle this task, reflection is key. If you struggle at any point, reassess your technique. Sometimes, asking for help can save time and effort. Try to keep the workspace tidy. A cluttered area can lead to mistakes. Proceed slowly, ensuring each step is done correctly.
Procedure for Installing New King Pin Bushings
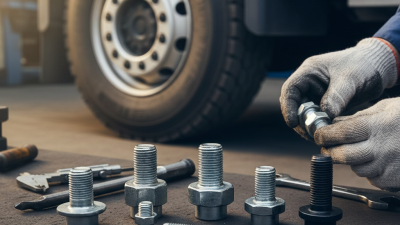
Replacing king pin bushings is a challenging but essential task for vehicle maintenance. Start by ensuring you have the right tools. A hydraulic jack will raise the vehicle safely. Use jack stands to secure it well. Lifting the front end allows better access to the suspension components.
Next, remove the wheel. Detach brake components cautiously to avoid damage. Inspect the king pins carefully. If they are worn, it’s time for replacement. Use a reaming tool to prepare the new bushings. This allows for a snug fit, which is crucial for performance.
When installing, ensure the bushings are aligned properly. Misalignment can cause uneven wear and handling issues. Use grease during the installation to facilitate movement. After installation, periodically check for any play in the bushings. A tight fit will enhance stability. However, keep in mind that adjustments may be necessary in the future. Regular maintenance is key to longevity.
Tips for Ensuring a Successful Replacement Process
Replacing king pin bushings can be a daunting task. However, with careful planning, the process becomes more manageable. First, gather all necessary tools and materials. This includes the correct size bushings, a press, and appropriate safety gear. Don't underestimate the importance of a comprehensive checklist. It's easy to overlook small items.
Before you begin, inspect the surrounding components. Check for wear and damage. Sometimes, the problem lies elsewhere. If you skip this step, you might face further issues. Cleaning the area is vital, too. Dirt can create additional problems, affecting the new bushings.
Be slow and methodical during installation. Press bushings evenly to avoid damaging them. Keep an eye on alignment; misalignment can cause premature failure. It's not uncommon to encounter hiccups. Maybe the bushings don't fit quite right. Reflect on your steps, and don’t rush. Troubleshooting is part of the job. Take breaks if you feel frustrated; returning with fresh eyes helps.
2026 How to Replace Reaming King Pin Bushings Effectively? - Tips for Ensuring a Successful Replacement Process
| Step |
Action |
Tools Required |
Tips |
| 1 |
Gather Tools |
Socket Wrench Set, Hammer, Punch |
Ensure you have all tools ready before starting |
| 2 |
Lift Vehicle |
Jack Stands |
Securely lift and support the vehicle to prevent accidents |
| 3 |
Remove Old Bushings |
Bushing Puller |
Check for degradation and clean the area |
| 4 |
Install New Bushings |
Press Tool |
Lubricate bushings for easier installation |
| 5 |
Reassemble Vehicle Parts |
Socket Wrench |
Double-check all parts are secured |
| 6 |
Test Drive |
N/A |
Listen for unusual noises and ensure smooth operation |