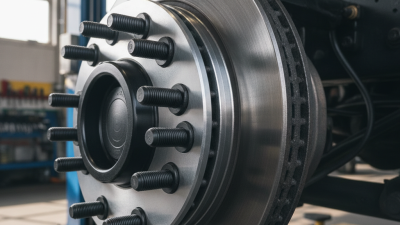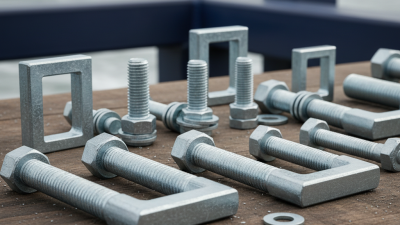
Choosing the correct Truck Center Bolt is a small decision with serious suspension consequences. This bolt keeps leaf-spring leaves aligned beneath heavy loads, rough roads, and repeated braking. A mismatched part may shift the spring pack, damage the locating hole, or create uneven axle positioning.
Mike Eaton, a veteran leaf-spring engineer, offers a useful reminder: “A spring works as a system; every small part affects its performance.” His point deserves attention. The bolt is not merely a threaded pin. Its diameter, head shape, shoulder length, thread pitch, and material must match the spring assembly and axle seat. Measure the original bolt carefully. Check the spring manufacturer’s specifications, not only a parts-store photograph.
Small errors matter.
A center bolt that is too short may not engage the nut fully. One that is too long may interfere with the axle seat or weaken clamping contact. Inspect the bolt hole for oval wear, rust flakes, and crushed spring leaves. Replace damaged hardware instead of forcing a larger bolt into place. Confirm the correct grade and tightening method from reliable manufacturer documentation. Do not guess the final torque.
Experienced technicians also inspect the U-bolts, spring clamps, and axle alignment during installation. The center bolt cannot correct a bent spring pack or worn bushing. That is where this topic becomes less tidy than most buying guides suggest. Correct selection helps, but complete suspension inspection determines whether the repair is dependable. A careful choice protects alignment, load stability, and long-term service life.
How to Choose the Right Truck Center Bolt?
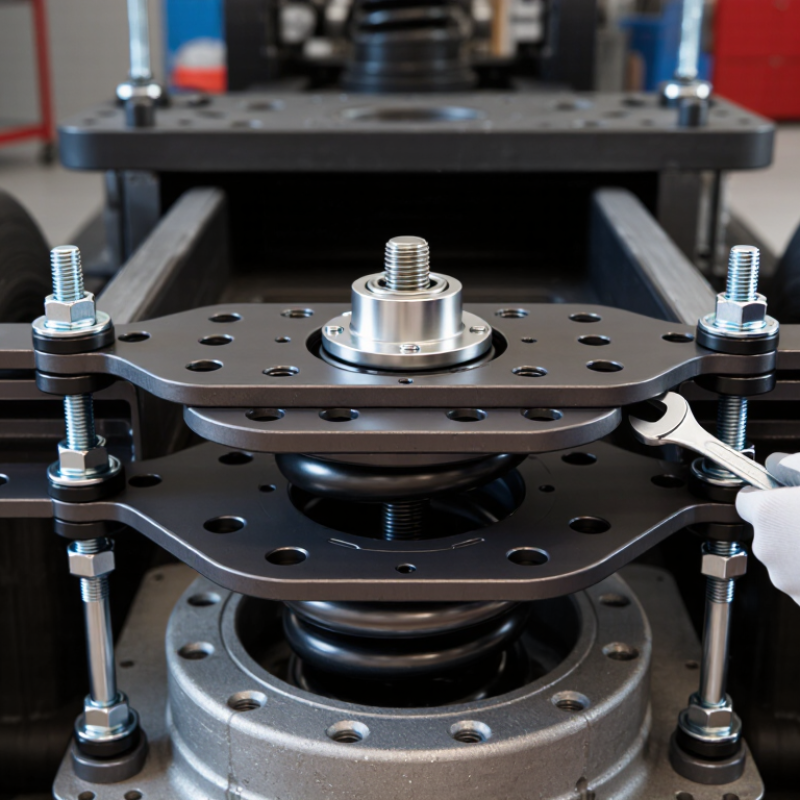
The center bolt holds the leaf-spring pack together and helps position the axle correctly. Its head fits into a locating hole on the axle seat. This connection controls spring and axle alignment during braking, acceleration, and uneven road travel. The U-bolts clamp the assembly, but they do not replace the center bolt’s locating function.
Choose a bolt that matches the spring pack’s diameter, thickness, and seat design. Check the head shape, shank length, thread size, and material strength. The threaded section must extend far enough for full nut engagement, without contacting the axle housing. A bolt that is too short can lose thread engagement. One that is too long may interfere with nearby parts.
Measure carefully.
During service inspections, look for a bent shank, damaged threads, rust pits, or a loose spring pack. A sheared center bolt may allow the axle to move forward or backward, causing unusual tire wear and unstable handling. Replace damaged hardware instead of forcing it straight. That shortcut can hide metal fatigue. Use the vehicle’s repair specifications for tightening values, and retighten related fasteners after initial operation when required. I would not guess here. Small differences in bolt size can change how securely the spring and axle remain aligned.
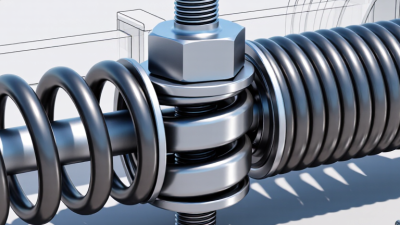
Measure Shank Diameter, Overall Length, Thread Pitch, and Spring-Pack Height
A truck center bolt must match the spring pack precisely. A small measurement error can cause poor axle alignment or uneven clamping. Support the vehicle securely before measuring, and release spring tension only with proper equipment. Never trust a bent or stretched old bolt as your only reference.
Measure the shank diameter with calipers, not a ruler. The shank should fit the spring-pack holes without excessive movement. Measure overall length from beneath the bolt head to the threaded tip. Include enough length for the nut and any washer, but avoid excessive thread that may interfere with nearby parts. Thread pitch matters too. Use a thread-pitch gauge, or compare the bolt with a verified nut. Similar threads can look identical.
Spring-pack height is often overlooked. Measure the complete leaf stack at the center bolt location, preferably while the leaves are evenly clamped. Record the height in millimeters or inches, and keep the unit consistent. A thinner or thicker pack changes the required bolt length. I have seen replacement bolts selected from diameter alone; that shortcut looked reasonable but failed during fitting. Recheck the dimensions.
Inspect the bolt head shape and the square locating section beneath it. These details must seat firmly in the spring and axle perch. If the old pack is damaged, replace the hardware instead of copying distorted measurements. A second measurement is worth the extra minute.
How to Choose the Right Truck Center Bolt?
Match the Bolt’s Head Shape and Locating Shank to the Axle Seat
A truck center bolt does more than hold a spring pack together. Its head must sit correctly in the axle’s locating seat, while its shank helps keep the leaves aligned. Compare the bolt head with the seat before installation. A rounded head may not locate properly in a seat designed for a different shape. Even a small mismatch can leave the axle slightly off-center.
Check the locating shank’s diameter and length against the axle seat and spring pack. The shank should engage the seat without binding or excessive movement. Measure the old bolt, but don’t rely on it alone; previous repairs may have used the wrong part. Consult the vehicle’s service information or a qualified technician when dimensions are unclear. A close visual match is not enough. I’ve seen that assumption cause extra work.
Tips: Clean rust and debris from the seat, then inspect for wear or damage. Confirm the bolt’s head profile and shank dimensions before tightening. Follow the specified installation procedure and torque values. If the parts don’t fit smoothly, stop and recheck them. Don’t force the match.
How to Choose the Right Truck Center Bolt
These bars show exact inch-to-millimeter conversions for common fractional dimensions; they are not a fitment guide. Match the bolt’s head shape to the axle seat, and verify that its locating shank fits the axle’s center hole and is long enough for the spring pack. Always check the vehicle or axle specifications before selecting a bolt.
A truck center bolt holds the leaf spring pack in alignment under repeated shock and vibration. Its strength grade matters more than appearance. SAE J429 Grade 8 requires a minimum tensile strength of 150 ksi. That value describes the bolt’s resistance to pulling apart. It does not define the complete working load for your suspension.
Check the bolt head marking and request traceable material documentation from the supplier. A Grade 8 center bolt should match the required diameter, thread pitch, length, and shank design. Compare the bolt with the original part before installation. Small differences can affect spring alignment. Avoid using a bolt with damaged threads, deep corrosion, or unclear markings. It may look usable.
During service work, I have seen installers focus on hardness while overlooking length. That mistake can leave too few threads engaged or create interference inside the spring pack. Use the vehicle or suspension maker’s torque specification, and tighten the nut evenly. Do not replace a center bolt with a softer, unverified fastener. Tensile strength alone is not enough; fit, heat treatment, and manufacturing control also matter. I would still recheck the pack after initial use, because real-world vibration can expose problems that a bench inspection misses.
How to Choose the Right Truck Center Bolt?
Confirm OEM Fitment and Torque Specifications Before Installation
A truck center bolt may look simple, but a small mismatch can affect how the spring pack stays aligned. Check the vehicle’s OEM service information for the correct bolt diameter, length, thread, and head style. Confirm that the part suits the axle and suspension configuration, not just the truck model. Similar-looking setups can differ.
Inspect the old bolt and spring pack before fitting a replacement. Look for damaged threads, a bent shank, rust, or shifted leaves. Measure carefully, but do not rely on the old bolt alone; it may not be original. It’s easy to miss. A clean bench and good light help reveal details that road grime hides.
Use the specified torque value and tightening procedure from reliable service documentation. Do not guess from bolt size or reuse a value from another application. Keep the mating surfaces seated, align the spring leaves, and use the required hardware. A torque wrench should be in good condition and used as directed. If the specification is unclear, pause and verify it before installation. That extra check is worth the time.
| Fitment Check | What to Confirm | Why It Matters | Before Installation |
|---|---|---|---|
| Vehicle application | Match the truck’s year, model, axle or wheel position, and original equipment specification. | Fastener dimensions and seating details can differ between vehicles and wheel assemblies. | Use the vehicle manufacturer’s parts information or service documentation; do not rely on appearance alone. |
| Thread diameter and pitch | Verify both the nominal thread diameter and the distance between threads against the specified fastener. | A bolt with the wrong thread can damage the mating threads or fail to clamp the wheel correctly. | Confirm the specification using reliable service information or a suitable thread gauge. Never force a mismatched bolt. |
| Fastener length and engagement | Check the specified length and ensure the bolt provides the required thread engagement without bottoming out. | Insufficient engagement can weaken the connection; excessive length can interfere with components behind the mounting surface. | Compare with the specified original equipment dimensions and check clearance and engagement as directed by the service procedure. |
| Seat and wheel interface | Confirm that the bolt-head seat matches the wheel or mating component, such as a flat, conical, or spherical seat where applicable. | A mismatched seat can concentrate load, damage the mounting surface, and reduce clamping reliability. | Inspect the seat for the correct shape and contact pattern. Do not assume bolts are interchangeable because the threads match. |
| Hub- or stud-piloted arrangement | Identify how the wheel is centered and locate the correct fastener arrangement for that system. | Centering features and fastener designs are system-specific; mixing incompatible components can prevent proper wheel seating. | Follow the vehicle and wheel service information, and make sure the mounting surfaces are clean and fully seated. |
| Torque specification | Use the torque value and procedure specified for the exact vehicle and fastener application. | There is no single torque value that applies to all truck wheel fasteners. | Use a calibrated torque wrench. Follow the specified thread condition and tightening sequence; lubrication can change clamping force. |
| Condition and installation method | Check for damaged threads, corrosion, cracks, deformation, or contamination on the bolt and mating surfaces. | Damaged or dirty parts can produce inaccurate torque readings or an unreliable joint. | Start each fastener by hand and tighten using the prescribed sequence and procedure. Do not use an impact tool for final torque unless the service instructions specifically permit it. |
| Post-installation checks | Check for full seating and any manufacturer-specified inspection or retorque interval. | Required follow-up procedures vary by vehicle and application. | Follow the service documentation for inspection timing; do not apply a universal retorque interval. |